
To fill foaming shampoo without overflowing the bottle, first reduce the product’s free-fall distance and surface disturbance, then slow the fill before the foam reaches the bottle neck. Do not begin by reducing the whole cycle to one very low speed. The more useful diagnosis is to find whether the foam is already in the product, is created by nozzle drop, or rises mainly because the final filling speed is too aggressive for the available headspace.
A stable foaming shampoo filling machine setup combines product condition, nozzle position, liquid-level behavior, acceleration, deceleration and shut-off. Test the actual formula, temperature and bottle together; do not assume a universal anti-foam parameter.
|
Check 1
Air before filling
Look for bubbles already entrained in the shampoo supply. |
Check 2
Nozzle drop
Watch whether product falls through air and hits the liquid surface hard. |
Check 3
Foam near the neck
If foam rises late, test the deceleration point and finishing stage. |
1. Quick Answer: Reduce Drop Height and Liquid-Surface Disturbance First
Before changing settings, identify the first point where foam becomes unstable. Use the initial checks above as diagnostic clues, then confirm the cause with a controlled trial. Reducing the overall filling speed may hide the symptom without correcting air introduced upstream.
Record nozzle position, foam height and the liquid level at consistent points in the filling cycle. Change one variable at a time so the effect of nozzle movement, filling speed or product condition can be evaluated separately.
For projects that need controlled anti-foam filling rather than a generic liquid filler, the relevant commercial family is Runtech’s shampoo filling machines. The correct configuration still needs to be matched to the real formula, bottle and target production condition.
2. Why Surfactant Systems Amplify Foam at the Bottle Neck
Shampoo, hand wash and many cleaners contain surfactants, so introduced air can persist as bubbles. The bottle neck amplifies the effect: foam that spreads across the bottle body is forced into a smaller area at the shoulder and neck, making its visible height rise quickly.
| Free-fall impact | A long drop through air increases surface impact and can pull more air into the product. |
| High local velocity | Fast discharge can create turbulence where the product stream meets the liquid surface. |
| Upstream aeration | Mixing, recirculation or transfer can send already aerated shampoo to the filling nozzle. |
This is why overflow prevention should focus on where air enters the product and when foam expansion becomes critical, rather than only on the overflow visible at the bottle mouth.
3. Decide Whether the Cause Is Entrained Air, Nozzle Drop or the Speed Curve
Use one-variable-at-a-time testing. Compare a transparent sample taken immediately before filling with a settled sample at the same temperature, then film one bottle from the side so nozzle position, liquid surface and foam are visible together.
Useful diagnosis rule: foam from the first seconds points toward product condition or entry impact; foam that accelerates late points more strongly toward the speed curve, headspace or finishing stage.
Film at bottle level so nozzle position, liquid surface and foam stay visible together. Record when the liquid reaches the nozzle, when foam grows and what happens after shut-off; this helps separate nozzle-induced agitation from air already carried by the product.
For a broader line-selection discussion beyond this specific overflow fault, the related daily chemical filling equipment guide covers the wider filling-and-capping context.
4. Test Bottom-Up Filling and Liquid-Level Tracking in the Right Order
Bottom-up filling for shampoo aims to reduce the free-fall distance between the nozzle outlet and the receiving liquid. In a typical trial, the nozzle starts low in the bottle and then withdraws as the liquid rises. The purpose is to reduce impact, not simply to move the nozzle for its own sake.
| STEP 1Lower the drop | STEP 2Watch submersion | STEP 3Track the level | STEP 4Raise speed later |
Start with the lowest practical drop that is compatible with the bottle opening and internal geometry. Once the liquid reaches the nozzle outlet, observe nozzle submersion. Filling near or below the liquid surface can reduce surface impact, but deeper submersion is not automatically better because nozzle contact and withdrawal behavior also have to remain controlled.
Then test liquid-level tracking, where the nozzle rises with the liquid surface. Rising too early restores free fall; rising too slowly can leave the outlet unnecessarily deep. Confirm the required movement with the actual bottle before specifying it.
5. Separate the Fast, Deceleration and Finish Stages
A common mistake in shampoo filling machine anti-foam settings is treating filling speed as one number. For troubleshooting, split the cycle into a bulk-fill stage, a deceleration stage and a finish stage. Change one stage at a time while holding the other conditions steady.
Transfer most of the product while watching whether agitation and foam remain stable through the middle of the bottle.
Move the transition earlier or later and record whether foam starts rising as the liquid reaches the shoulder or another sensitive bottle region.
Use the final stage to control peak foam height and bottle-mouth cleanliness around shut-off, rather than optimizing only cycle time.

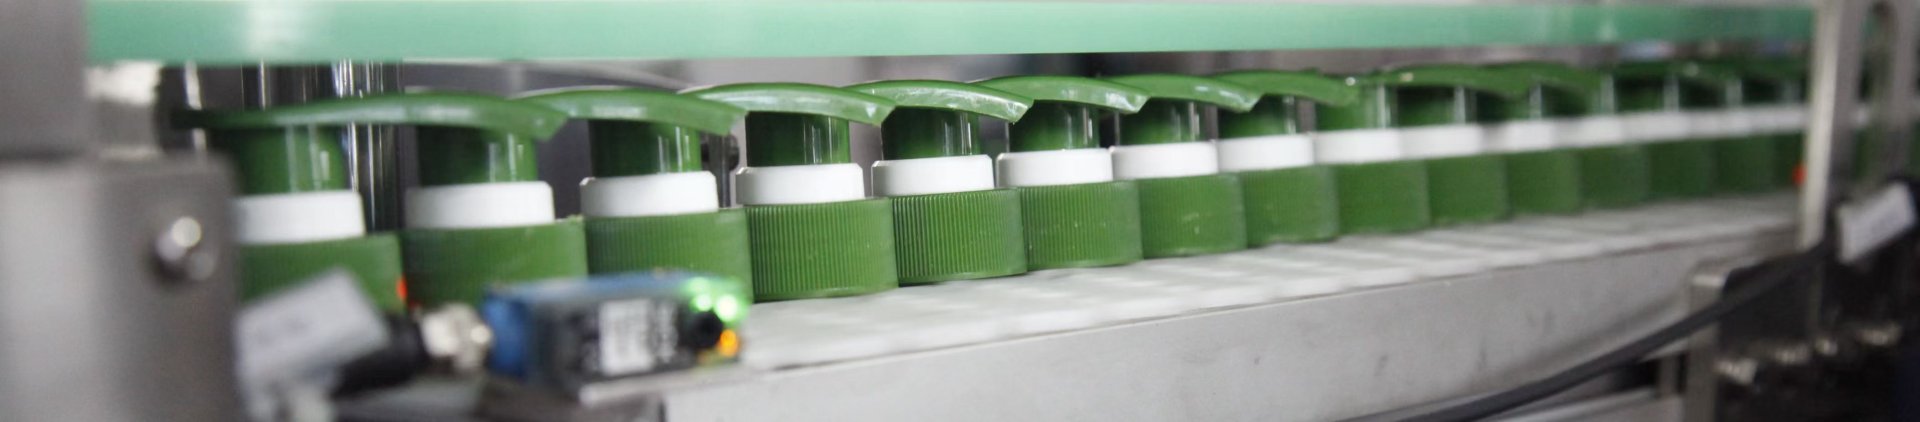
Runtech product-page illustration showing a quick-to-slow filling concept. Use it as a process reference, not as a universal speed recipe.
Establish the filling speed curve for foamy products with the real formula and bottle. Record bulk acceleration, deceleration point, final rate and shut-off separately so the result can be reproduced.
6. Record Headspace and Settling Time, Not Just Fill Volume
For every trial, record actual liquid level and temporary foam level separately. The clearance between peak foam and the bottle mouth shows usable headspace. An acceptable liquid level can still overflow if foam temporarily occupies the neck.
Record settling time at consistent intervals. Note whether foam collapses, persists or keeps rising after shut-off; this helps separate upstream entrained air from discharge turbulence.
Keep constant: formula batch, product preparation method, bottle, test temperature and observation timing.
Record: maximum foam height, liquid level after settling, visible bubbles, bottle-mouth cleanliness and any change during normal transfer.
7. Use a Before-and-After Overflow Test Table
Use a comparison sheet rather than memory. Change one major variable at a time and support the record with photos or video.
| Test item | Change | Record |
|---|---|---|
| Product condition | Freshly handled vs. settled comparison | Visible entrained air |
| Nozzle position | Reduce initial free-fall distance | Foam in first fill stage |
| Deceleration | Start slow stage earlier | Peak foam near shoulder/neck |
| Finish stage | Use a gentler ending | Bottle-mouth cleanliness |
| Post-fill handling | Run normal downstream movement | Spill or foam at the mouth |
Include a practical spill test: move the filled bottle through the normal transfer conditions used for evaluation. A bottle that appears clean while stationary may still contaminate the neck after acceleration, stopping or conveyor handoff.
8. When a Foaming Shampoo Filling Machine Configuration Needs Re-Evaluation
Adjust settings when the installed equipment already controls the variable causing the foam. Reconsider the configuration when the required nozzle position or staged speed sequence cannot be reproduced, or overflow persists after upstream air and headspace have been checked.
Runtech’s product page for the Fully Automatic Daily Chemical Filling Machine specifically describes an anti-foaming, anti-drip approach for surfactant products and a submerged filling nozzle for foamy daily chemicals such as shampoo. It is therefore relevant to this problem, while compatibility with a specific formula and bottle still requires sample testing.
Buyer recommendation: use the actual formula, actual production temperature and actual bottle for staged speed testing. Film both the liquid surface and nozzle position. Do not accept a universal filling speed, deceleration point or anti-foam parameter as proof that the application will run cleanly.
Relevant equipment reference
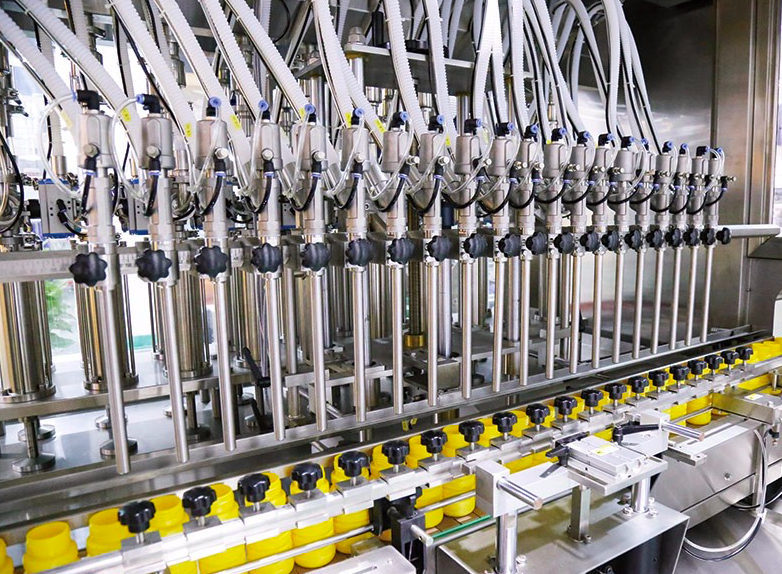
Fully Automatic Daily Chemical Filling Machine
Relevant when: a shampoo or other surfactant product needs an anti-foaming filling approach.
Why it relates: the product page identifies a submerged anti-foaming nozzle design for foamy daily chemicals.
Confirm before selection: formula behavior, bottle geometry, nozzle movement, staged filling sequence and target production condition through sample testing.
Related reading
Liquid Filling Machine Guide for Daily Chemical Products →
Use this pillar guide when the next question is overall filling-line selection rather than foam overflow alone.
Validate the filling process with the actual shampoo and bottle
After identifying the foam source, validate nozzle position, staged speed, headspace and settling under representative conditions. Select a foaming shampoo filling machine around that process rather than a generic anti-foam claim.
| Explore Filling Machine Options | Share Your Shampoo, Bottle and Target Speed |
Frequently Asked Questions
Can the same anti-foam settings be used for different shampoo formulas?
No. Formula, viscosity, temperature and entrained air can change foam behavior. Test each priority shampoo under representative production conditions.
What samples should be provided for a shampoo filling test?
Provide the actual shampoo, production bottle, intended filling temperature and target production condition. A video of the current overflow also helps show when foam begins and where the nozzle sits.
Is bottom-up filling always necessary for foaming shampoo?
No. It is useful when free-fall and surface impact create foam, but overflow may instead come from upstream aeration, the speed curve or limited headspace.
How should machine compatibility with a foamy product be validated?
Test the actual formula and bottle rather than water alone. Record nozzle position, foam during filling, settling after shut-off and bottle condition after transfer.
Should maximum filling speed be the main procurement target?
Not by itself. Validate the required rate together with repeatable foam control, clean bottle mouths and stable post-fill handling.
What should be written into the filling acceptance criteria?
Define the formula, temperature, bottle, operating sequence and target production condition. Include acceptance observations for foam, overflow, nozzle behavior, settling and post-fill handling.