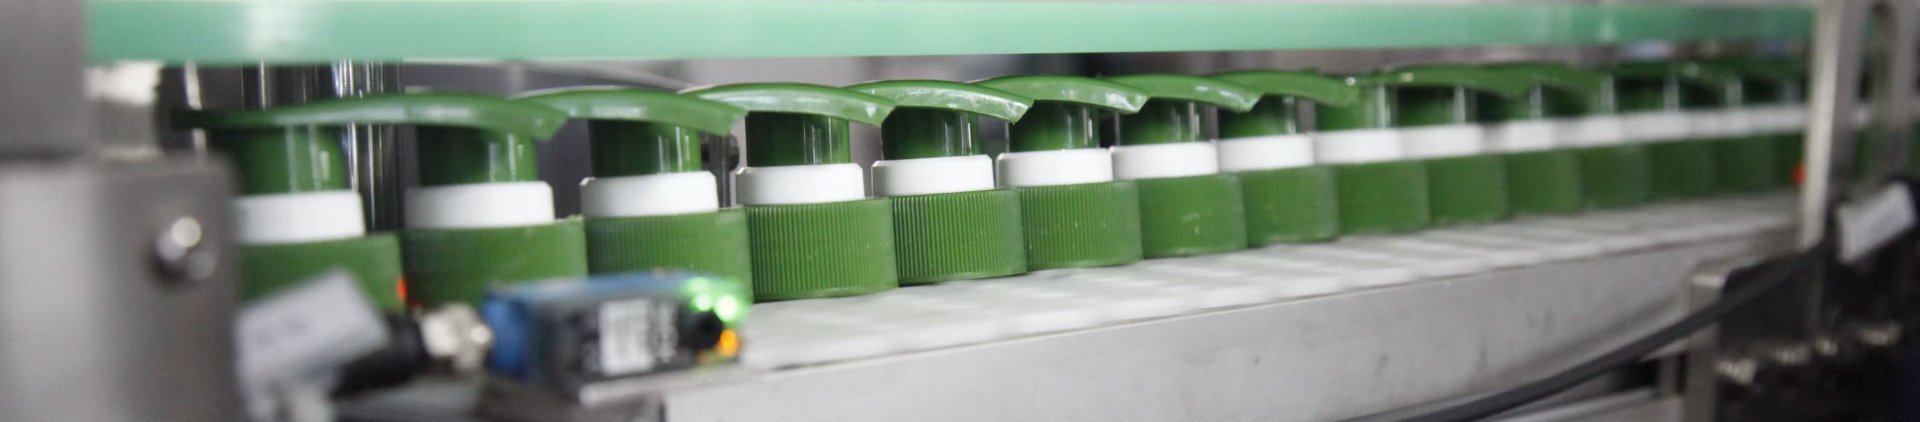
In daily chemical packaging, a filling machine measures liquid and fills bottles before capping, labeling, and packing. However, equipment selection should not rely on product name alone. Shampoo, hand soap, lotion, detergent, sanitizer, and trigger spray cleaner all flow differently. Therefore, the filling method should match liquid viscosity, bottle shape, cap type, output target, and automation level.
This guide explains the working process, common machine types, suitable daily chemical applications, and the practical information needed before confirming a filling, capping, and packaging solution with Runtech Capping.
Table of Contents
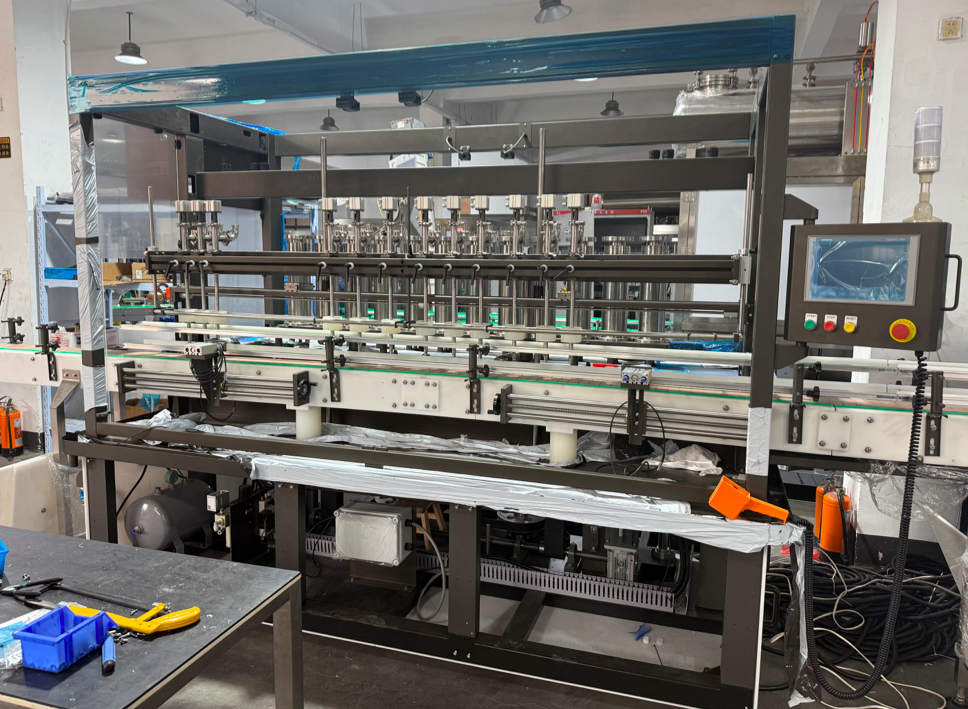
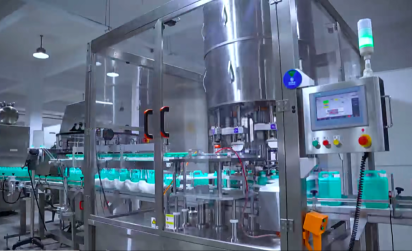
Related equipment: inline daily chemical automatic filling for hand soap, shampoo, lotion, liquid soap, and detergent bottle lines.
What Is Liquid Filling Equipment?
Simply put, liquid filling equipment transfers a controlled amount of liquid into a container. In a daily chemical workshop, the container may be a small hand wash bottle, a flat detergent bottle, a lotion pump bottle, a shampoo bottle, a large cleaner bottle, or a trigger spray bottle.
However, filling is not only about volume. The machine also needs to control bottle position, nozzle movement, dripping, foam, product residue, and transfer to the capping section. As a result, a good line must protect both filling accuracy and finished-bottle appearance.
For example, liquid sanitizer may need fast and clean filling. Meanwhile, shampoo may need slower nozzle control because it is thicker. In addition, a foaming hand soap may need bottom-up filling or staged speed control to reduce bubbles.
Runtech Capping supplies filling and capping equipment for liquid and paste packaging projects. The main product direction can be reviewed from the Runtech Capping homepage, while linear fillers can be reviewed from the Linear Type Filling Machine category.
Main Types of Filling Machines
Different liquids need different dosing methods. Therefore, a machine should not be selected only because it looks suitable in a photo. The product formula, viscosity, foam level, bottle mouth size, and cap style should be checked together.
Below are common filling types used in liquid bottle packaging. The final configuration should still be confirmed according to product samples and packaging details.
| Machine Type | Common Use | Selection Notes |
| Piston filling | Shampoo, lotion, gel, detergent, paste-like liquid | Often reviewed when viscosity is medium or high. Anti-drip and cleaning design should be confirmed. |
| Flow meter filling | Stable-flow liquid, cleaner, sanitizer, low-viscosity products | Useful for certain liquid products, but foam and temperature changes should be checked. |
| Pump filling | Flexible liquid formats and multi-product production | Pump type, liquid contact parts, hose path, and cleaning method need review. |
| Gravity filling | Thin liquid under suitable conditions | Not ideal for every foaming, sticky, or high-viscosity product. |
| Linear automatic filling | Daily chemical bottle lines with several formats | Often practical for straight conveyor layouts, bottle changeover, and filling-capping integration. |
In many daily chemical projects, a liquid filling machine in a linear layout is a practical starting point. It can be planned around bottle format, nozzle quantity, product viscosity, and downstream capping needs.
How a Liquid Filling System Works
A filling system works through a controlled sequence. First, the product enters a tank, hopper, or feeding system. Next, the dosing structure measures the liquid. Then, the nozzles deliver product into bottles. Finally, the filled bottles move toward capping and labeling.
Although the sequence looks simple, each step can affect the final packaging result. Bottle shaking, nozzle height, foam, air bubbles, dripping, and liquid on bottle threads may all cause problems later.
Product Feeding
First, liquid must enter the filling path steadily. A thin cleaner may flow easily. However, a thick conditioner or concentrated detergent may need stronger feeding control. In addition, some products trap air if the supply path is not suitable.
Therefore, product feeding is part of the filling result. Stable supply helps reduce bubbles, uneven dosing, and nozzle problems.
Bottle Positioning
Next, bottles enter the filling station and stop under the nozzles. Guide rails, sensors, and bottle positioning devices help keep the mouth aligned. This step is especially important for flat bottles, tall bottles, soft plastic bottles, and irregular containers.
For example, a narrow pump bottle may wobble during transfer. Meanwhile, a flat detergent bottle may need wider guide adjustment. As a result, bottle samples are very useful before final line design.
Nozzle Filling
Then, filling nozzles deliver the liquid into each bottle. Some nozzles remain above the bottle mouth. Others move down and rise with the liquid level. For foaming or viscous products, this movement may help reduce bubbles, splashing, or product strings.
Meanwhile, filling speed can be adjusted in stages. A machine may start faster and slow down near the final level. This helps balance output and cleanliness.
Transfer to Capping
After filling, the bottle moves toward cap placement and tightening. This transfer must remain clean and stable. If product remains on the bottle neck, cap tightening may become less reliable. If foam rises after filling, the capping station may need more space or timing control.
For this reason, filling and capping should be discussed together. A bottle filling machine works better when cap type, bottle thread, closure height, and capping method are confirmed early.
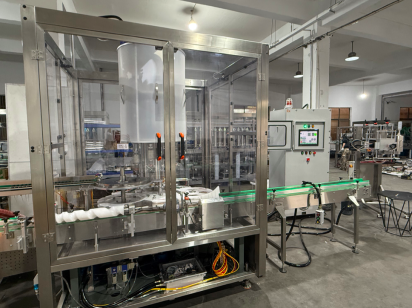
Related equipment: piston type filling for viscous liquid, detergent, paste-like material, and products needing anti-drip control.
Bottle Filling Machine Workflow in a Packaging Line
A filling station usually works inside a wider line. Therefore, the workflow should include bottle feeding, filling, cap handling, cap tightening, labeling, coding, and final packing. A strong filling result helps every later step run more smoothly.
For daily chemical bottles, this line view is important. Pump heads, trigger sprayers, flip-top caps, and screw caps all require different handling. Meanwhile, labels need clean bottle surfaces, so dripping control during filling becomes part of final appearance.
- Empty bottle loading: Bottles enter by manual loading, rotary table, conveyor, or bottle handling equipment.
- Bottle separation: Bottles are spaced and positioned under the filling nozzles.
- Filling: Liquid is measured and filled through the selected dosing method.
- Cap placement: Caps may be fed automatically or placed manually, depending on closure style.
- Capping: Screw caps, pump heads, trigger sprayers, or other closures are tightened or pressed.
- Labeling and coding: Filled and capped bottles move to labeling, date coding, or sleeve labeling.
- Final packing: Finished bottles move to inspection, carton packing, or downstream handling.
Suitable for These Packaging Projects
This article is most relevant for production projects involving liquid daily chemical products, personal care liquids, and household cleaning liquids. It is especially useful when the filling section must connect with capping equipment for pump heads, trigger sprayers, screw caps, or flat bottle closures.
The following matching guide helps turn the educational topic into a clearer equipment direction. It does not replace technical confirmation, but it makes the next step easier.
Hand Soap, Shampoo, LotionSuitable for projects with medium viscosity, clean filling needs, and frequent bottle format changes. |
Detergent and Paste-Like LiquidSuitable for thicker products where dosing strength, nozzle control, and anti-drip design matter. |
Pump Head and Trigger Spray BottlesSuitable for lotion pumps, foam pumps, hand wash pumps, household cleaners, and spray bottle projects. |
How to Choose for Daily Chemical Products
A suitable machine choice starts with the product and package. Instead of asking only for a machine price, the project should define viscosity, foam, bottle format, closure type, and production target first. Then, the filling and capping layout can be reviewed more accurately.
In addition, exact output, configuration, and changeover details should not be assumed before technical review. Filling speed depends on product volume, number of nozzles, viscosity, foam behavior, cap handling, and downstream equipment.
1. Confirm Liquid Viscosity
Viscosity means how easily a liquid flows. A sanitizer may be close to water. Shampoo, lotion, dishwashing liquid, and gel may flow more slowly. Therefore, viscosity affects the filling principle, nozzle size, feeding method, and anti-drip design.
Also, viscosity can change with temperature. A product may run differently in summer and winter. For that reason, production conditions should be included in the equipment discussion.
2. Check Foam and Bubble Risk
Foam is common in detergent, hand wash, shower gel, and certain cleaning liquids. When liquid enters too quickly, foam may rise, overflow, or make clear bottles look uneven. Therefore, filling speed and nozzle movement need attention.
For some products, staged filling or bottom-up filling may help. However, the right method should be confirmed with the actual product and bottle.
3. Review Bottle Shape
Bottle shape affects the whole line. A round bottle, square bottle, oval bottle, flat bottle, soft bottle, and irregular bottle may all need different guide rail and positioning settings. A tall bottle may wobble, while a wide bottle may need more conveyor space.
Moreover, bottle mouth diameter affects nozzle choice. A narrow mouth can require slower filling. A wider mouth may allow faster flow, but splashing still needs control.
4. Confirm Cap Type Early
A cap is not a small detail. Pump heads, trigger sprayers, screw caps, flip-top caps, and press caps all require different handling. Therefore, cap samples should be checked before line layout is confirmed.
For example, a trigger sprayer has a dip tube and often needs controlled placement. A pump head can be taller and more delicate than a normal screw cap. As a result, capping equipment should be selected together with the filling section.
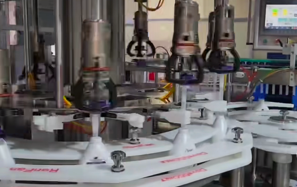
Related equipment: pump cap and trigger sprayer capping for lotion pumps, foam pumps, cleaning sprays, and daily chemical bottles.
Why Filling and Capping Should Be Planned Together
Filling and capping are connected by the bottle neck. If the bottle thread is wet, the capper may not tighten consistently. If foam rises after filling, the cap may touch product. If the bottle is unstable, the closure may not align correctly.
Therefore, a complete packaging discussion should include both sections. The filling side should keep the bottle clean. The capping side should match the closure structure and bottle shape. Meanwhile, the conveyor should transfer bottles without shaking or spilling.
For broader packaging machinery context, PMMI provides industry resources for packaging and processing technology. This reference supports the idea that packaging equipment should be understood as part of a complete production system.
Related Equipment for Liquid Bottle Packaging
Compare filling and capping solutions for hand soap, shampoo, detergent, lotion, pump bottles, and trigger spray packaging lines.
Inline Daily Chemical Automatic Filling MachineFor hand soap, shampoo, lotion, liquid soap, and detergent bottle lines. Read More >
|
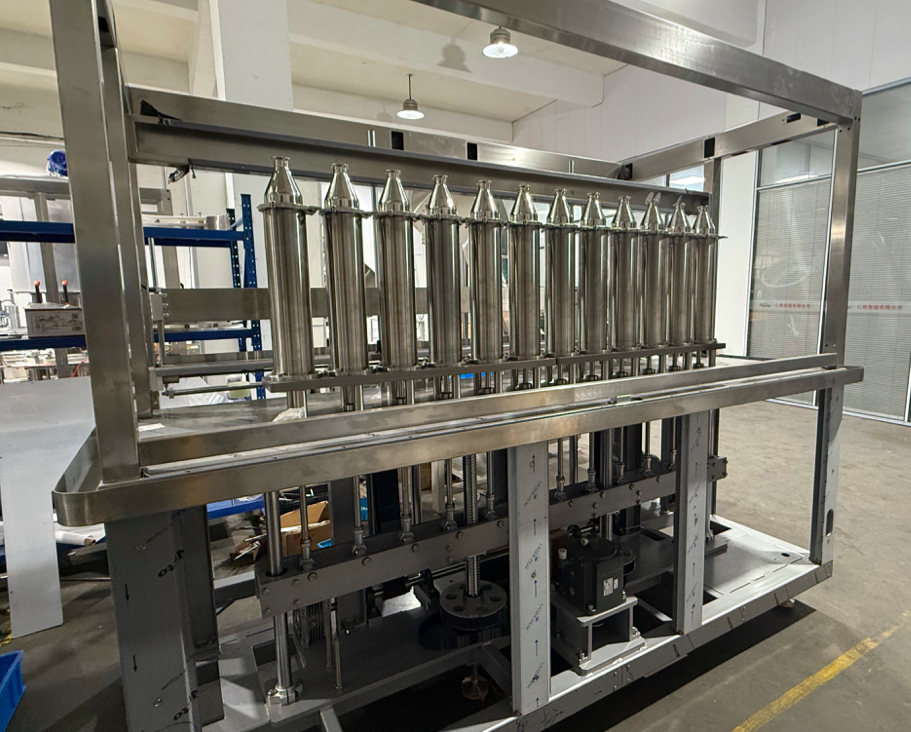
Piston Type Filling for Detergent and PasteFor viscous liquid, paste-like material, detergent, and anti-drip filling needs. Read More >
|
Pump Cap and Trigger Sprayer CappingFor pump bottles, trigger spray cleaners, lotion pumps, and hand wash closures. Read More >
|
FAQ
What liquid products can this equipment handle?
It can be reviewed for many daily chemical and personal care products, including hand wash, shampoo, shower gel, detergent, sanitizer, disinfectant, lotion, cleaner, and gel. However, each product should be checked by viscosity, foam level, bottle type, filling volume, and cap style.
Is piston filling better for thick liquid?
Piston filling is often reviewed for medium and high-viscosity products. However, the final choice depends on the real formula, flow behavior, bottle volume, cleaning method, and anti-drip requirement. Product samples help confirm the correct direction.
Why does foam appear during filling?
Foam may appear when liquid enters the bottle too fast, hits the bottle wall, or traps air. Detergent, hand soap, and some cleaners may foam more easily. Therefore, filling speed, nozzle movement, and bottom-up filling should be reviewed when foam is a concern.
Can one line fill different bottle sizes?
One line can often support several bottle sizes after adjustment. However, large differences in bottle height, width, mouth diameter, cap style, and bottle stability may require change parts or different handling. The full bottle range should be shared before line confirmation.
How does capping affect the filling line layout?
Capping affects conveyor length, cap placement method, bottle holding, and line timing. Pump heads and trigger sprayers usually need more review than simple screw caps. Therefore, filling and capping should be planned as one connected packaging workflow.
What information is needed before quotation?
A complete request should include product type, viscosity, foam behavior, bottle volume, bottle shape, bottle mouth size, cap type, target output, automation level, and available floor space. Bottle and cap samples also make equipment review more accurate.
Summary and Inquiry Checklist
In summary, liquid bottle packaging should be planned as a complete workflow. Filling, bottle transfer, cap placement, capping, labeling, and packing all affect the final production result. Therefore, machine selection should start from the real product and package, not from a generic machine name.
For a suitable filling machine, send Runtech Capping the product type, liquid viscosity, bottle shape, cap style, target production need, and automation requirements. Then, a practical filling, capping, and packaging solution can be reviewed according to the project details.
- Product details: liquid type, viscosity, foam level, dripping risk, cleaning needs, and filling temperature.
- Packaging details: bottle volume, bottle shape, mouth diameter, cap type, pump head, trigger sprayer, or screw cap sample.
- Line details: target output, automation level, factory layout, current bottle range, and future packaging plan.