
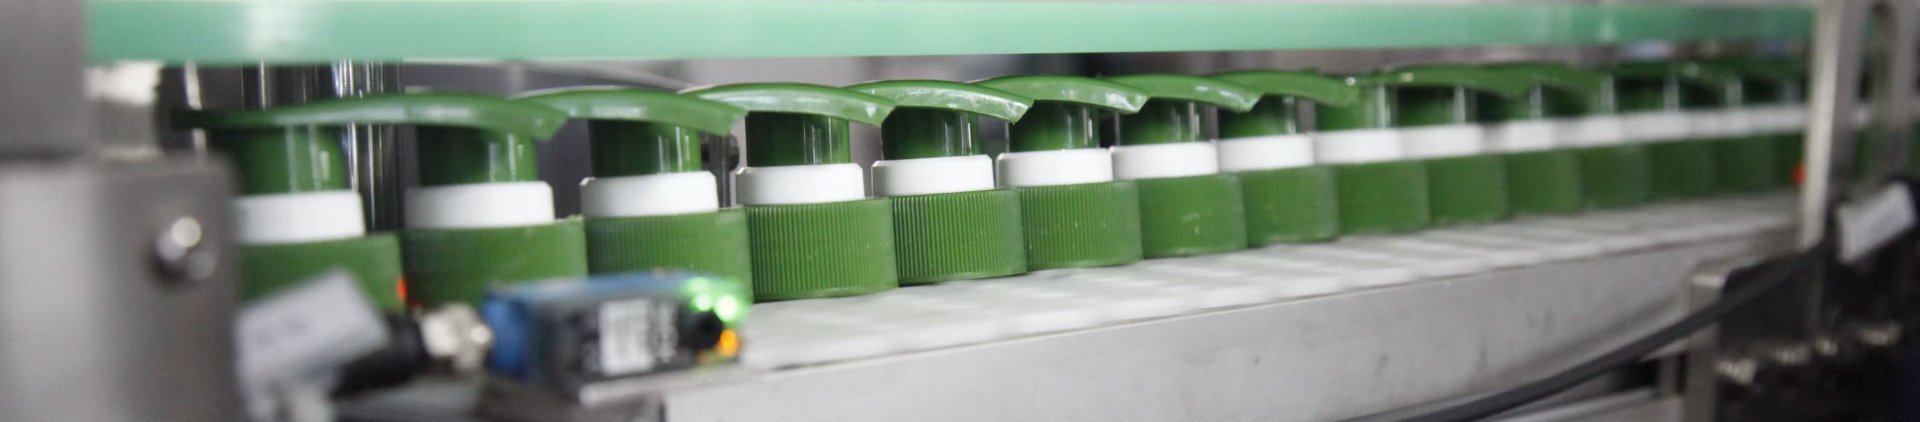
A small bottle filling machine for 30 ml to 100 ml cosmetic bottles should be selected first by low-dose repeatability and bottle positioning, not by headline speed or filling-head count. At these volumes, a small absolute dosing deviation represents a larger share of the intended fill, while a narrow neck leaves less room for nozzle misalignment.
For essence, serum, lotion and care liquids, the practical decision is whether the filler can center the bottle, place the nozzle safely relative to the opening, dispense the target amount repeatedly and cut off cleanly with the real product. Bottle samples and fill-weight data should decide acceptance.
|
CHECK 1
Low-dose repeatability
|
CHECK 2
Neck-to-nozzle fit
|
CHECK 3
Bottle centering
|
1. Quick Answer: Size for Repeatability and Positioning First
Start with the smallest dose and the most difficult bottle in the planned range. The machine should hold that bottle upright, present the opening consistently under the filling point and repeat the target dose without relying on an operator to correct every cycle. A successful single fill is not enough; the result has to remain stable over repeated operation.
Treat metering, positioning and product cut-off as one system. Good metering cannot compensate for an off-center bottle, and good centering cannot prevent residue from poor shutoff. For a small bottle filling machine for cosmetics, these interactions matter more than a nominal volume range.
For broader machine-selection variables outside this small-bottle problem, the pillar guide on small-bottle filling options explains how product behavior, bottle design and production requirements fit into automatic filler selection.
2. Why Errors Matter More in the 30 ml to 100 ml Range
The same absolute dosing error has a greater impact at smaller fill volumes. For example, a 1 ml deviation represents about 3.3% of a 30 ml target, compared with 1% at 100 ml. A machine that performs well at 100 ml therefore still needs to be tested separately at 30 ml, using the actual product and agreed filling tolerance.
Small cosmetic packs also make residue easier to notice. A drop on the neck, thread or decorated shoulder can affect presentation or the next packaging step. Repeated overfill also increases product giveaway.
Selection rule: define the target fill and allowable tolerance before comparing equipment. Then ask the supplier to demonstrate that the proposed cosmetic filling and capping equipment can meet that requirement with the actual bottle and product.
3. Match the Narrow Neck, Bottle Shoulder and Nozzle Diameter
The fit between the bottle-mouth inside diameter and the nozzle outside diameter is one of the first things to check. The nozzle needs enough clearance to approach or enter the neck under normal positioning variation, while still allowing the product to flow without excessive restriction.
There is no single nozzle diameter that suits every 30–100 ml cosmetic package. A narrow outlet may restrict the flow of thicker lotions, while a larger nozzle leaves less positioning margin. The bottle shoulder can create an additional constraint, particularly when the filling head moves close to the neck.
| Mouth inside diameter | Defines the available physical clearance for the nozzle and the margin left for positioning variation. |
| Nozzle outside diameter | Must be considered together with product viscosity, flow rate and whether the nozzle enters the neck. |
| Centering tolerance | Determines whether normal bottle variation still leaves enough clearance for a repeatable filling position. |
Physical samples are more useful than a neck drawing alone because they reveal molding variation, shoulder interference and how the real container sits against guides. The most restrictive bottle should be used during the approval test.
4. Prevent Tall or Slender Bottles From Tipping or Filling Off-Center
Tall, narrow or lightweight bottles may rock during conveyor movement, rotate against guide rails or settle differently after each stop. Empty bottles often need extra attention because they have less mass to resist those disturbances.
Watch the full movement into and out of the filling station. A bottle should arrive upright, stop in a repeatable position and leave without the guide system pushing it sideways. If the opening moves noticeably relative to the nozzle, the problem is positioning rather than metering.
Guide rails: should support the bottle without squeezing a flexible body or forcing it away from center.
Centering: should reference a repeatable bottle feature rather than depend on the nozzle to find the neck.
Bottle puck: may be worth evaluating when the base is narrow, the body is irregular or the container cannot remain stable on the conveyor by itself. Its need should be confirmed from sample behavior.
5. Validate Nozzle Lift, Shutoff and Anti-Drip Performance
Nozzle movement should be tested with the actual formula or a genuinely representative product. Water can verify basic motion, but it does not reproduce the stringing, foaming or delayed cut-off behavior of every essence, serum or lotion.
Where nozzle lift is used, verify the approach, filling position, withdrawal and shutoff. The nozzle should not contact the bottle or pull residue across the neck. With a narrow opening, a small offset can create recurring contamination.
Anti-drip performance is best judged across consecutive fills. Inspect the nozzle tip, neck and shoulder, then observe the pause before the next bottle arrives. A system can look clean at the exact moment dosing ends and still release a delayed drop afterward.
Define an observable acceptance condition: no recurring uncontrolled drop on the neck, no persistent product string between nozzle and bottle, and no residue pattern that interferes with capping or bottle presentation.
6. Use Fill-Weight Data Instead of Visual Judgment
Fill height alone is not a reliable accuracy check. Bottle geometry, trapped air and foam can distort visual comparison. For 100 ml bottle filling as well as lower doses, acceptance should be based on measured data.
Record each empty bottle weight, the filled bottle weight and the calculated net fill weight. If container tare varies materially, pair the filled measurement with the tare of that same bottle rather than subtracting one average tare value from every result.
Review the average, minimum, maximum and spread of repeated measurements. The test should show that the setup stays within the agreed tolerance for that bottle and dose. If volume is calculated from weight, use verified product density under the relevant production condition.
|
Tare weight
|
Gross weight
|
Net fill weight
|
7. Send Bottle Samples, Product and a Clear Acceptance Checklist
A useful quotation package should make the filling problem measurable. Send the smallest and largest bottles, the actual product or an agreed representative test material, bottle-mouth inside diameter, target dose, tolerance and stable production requirement. Include any format that differs materially in stability, neck geometry or shoulder shape.
| Bottle samples | Minimum and maximum sizes plus any difficult narrow-neck, tall or irregular format. |
| Neck information | Bottle-mouth inside diameter and the dimensions needed to understand shoulder and nozzle clearance. |
| Product | Actual formula when practical, so flow, foam, stringing and shutoff behavior can be observed. |
| Acceptance limit | Target dose and allowed tolerance for each specification being approved. |
| Required evidence | Recorded fill-weight results plus observation of centering, nozzle clearance and post-fill dripping. |
Buyer recommendation: before quotation, submit the minimum and maximum bottle samples, bottle-mouth inside diameter, dose tolerance and required stable output. Ask for each bottle and dose specification to be verified with fill-weight data rather than visual inspection alone. To discuss the actual package, review a filling setup for 30 ml to 100 ml bottles with the relevant samples and requirements.
8. Match the Small-Bottle Solution to the Actual Package
Base the selection on the smallest dose, narrowest opening and least stable bottle in the intended range. Those conditions reveal more than nominal bottle capacity alone.
Once the filling and bottle-handling requirements are clear, the next question is whether the intended closure also suits the machine configuration. An integrated filling-and-screw-capping system may be worth considering for compatible screw-cap bottles, while pump heads, droppers or press-on closures require separate handling and capping checks.
Relevant Runtech equipment reference
Runtech’s Automatic Cosmetic Filling and Capping Machine page lists a customizable 10 ml to 2000 ml filling range, cosmetic liquid, lotion, cream, shampoo and essence among the applicable materials, and an anti-drip filling design. For a 30–100 ml project, bottle-neck clearance, nozzle choice, centering and repeatability still need sample confirmation.

Automatic Cosmetic Filling and Capping Machine | Daily Chemical Bottle Screw Capper
Relevant for: integrated cosmetic filling and screw capping where a 30–100 ml package falls within the machine’s published customizable filling range.
Why it relates: the page specifically lists cosmetic liquids, lotion and essence and describes anti-drip filling.
Confirm before selection: bottle stability, bottle-mouth inside diameter, nozzle clearance, target dose tolerance and fill-weight repeatability with samples.
Related reading
How to Choose an Automatic Filling Machine for Bottles →
Use this pillar guide when the decision expands beyond small-bottle geometry into the wider filling-machine selection process.
Verify the small-bottle package before approving the machine
Send the real bottle range and product, define the tolerance and request weight-based validation for nozzle fit, centering and low-dose repeatability.
| Review a Small-Bottle Filling Solution | Discuss Bottle Sample Testing |
Frequently Asked Questions
Can the same filler be used for 30 ml and 100 ml cosmetic bottles?
Possibly, but both ends of the range should be tested with the actual bottle and product. Confirm repeatability, nozzle clearance, bottle positioning and clean cut-off separately for the smallest and largest formats.
What bottle information should be supplied before sample testing?
Provide physical bottles, bottle-mouth inside diameter, relevant neck and shoulder dimensions, target fill quantity and acceptance tolerance. Include any format that is unusually tall, narrow, unstable or different in neck geometry.
How much clearance should there be between a nozzle and a narrow bottle neck?
There is no single clearance value for every project. It depends on bottle-mouth variation, nozzle diameter, centering repeatability, product flow and whether the nozzle enters the neck. Confirm the usable margin with physical samples.
When should a bottle puck be considered?
A puck may help when a bottle has a narrow base, irregular body or insufficient conveyor stability. It should be selected because testing shows a repeatable handling problem, not simply because the bottle capacity is small.
How should filling repeatability be validated during procurement?
Record tare and gross weights for repeated fills, calculate net fill weight and compare the results with the agreed tolerance for that SKU. Keep the machine settings and test conditions with the data so the result can be reproduced.
Should sample acceptance use fill level or fill weight?
Use fill weight as the primary quantitative measure. Visual fill level remains useful for spotting foam, splashing or presentation problems, but bottle geometry can make fill height misleading as an accuracy check.